Overview and gameplay loop
Hold the resource. Draw opponents close.
Ceratosaurus is at its best when holding a food source and making opponents approach. Choose a position around the carcass, wait for a commitment, then use charged bite. Avoid letting a chase pull you away from the advantage you started with.
+Very durable in close combat
+Strong carcass control
+Bacteria disrupts enemy recovery
−Not fast
−Easy to kite
−Contesting apexes remains dangerous
Special abilities and controls
Verified against the current ability set in patch 0.21.772. Shown keys are defaults; players with custom binds should check Settings → Controls.
Combat and unique abilities
A quick bite that builds bacteria through combat; headshots use a higher modifier than body hits.
Bite toward the camera; head damage is high while bleed is only slightly above the regular bite.
Charge from a tap to full power; movement slows and stamina is consumed after reaching full charge.
Vomit beside a carcass to accelerate decay. This costs food, thirst and some nutrients, so use it deliberately.
Eating builds bile and bacteria. Standing near a large enough carcass grants damage reduction and a warning chuff when an opponent approaches.
Survival and environmental interactions
Fighting beside a carcass favors you
Spoiled food is safer for you than for most species
Do not abandon a carcass to chase faster targets
Carcass scent attracts scavengers and can become bait
EInteractWallow at a mud pool to reduce tracks and scent for a while.
QScentScent while standing still to read water, diet, carcasses, tracks and distant zones.
GCarcass interactionCorpse handling: tap to tear off a chunk; hold to drag or carry it when mass allows.
HRestRest / safe logout: rest out of sight; never lie on a trail or directly between others and water.
All basic controls +
Use SHIFT to sprint and Z to switch trot or walk for tighter turns.
Hold longer for greater range; tap Q to open the compass.
Eat, drink, wallow, use nests and interact with resources.
Tap to tear off a chunk; hold to drag or carry a valid object.
Rest for faster recovery; hold H to sleep and log out safely.
View growth, diet, mutations, sex, group and asset location.
Broadcast · friendly · threaten · help. Loud calls reveal your position.
Use N to pair or place a nest; B builds a mound nest for supported species.
Damage by ability
Actual damage also depends on mass, hitbox, attack direction, bleed and server balance. The table separates fixed values from scaling abilities to avoid treating community figures as absolute damage.
Community reference for Bite; actual results still vary with mass, hitbox and server balance.
Community reference for Directional Bite; actual results still vary with mass, hitbox and server balance.
Charged Bite scales with target state, mass, speed or contact conditions; use the listed value as a reference rather than guaranteed damage.
Recommended mutations
This list is the species-wide foundation. After choosing a build below, follow its dedicated loadout order instead of keeping the general priority.
Supports healing while feeding and defending a carcass.
Improves recovery between combat rotations.
Reduces damage pressure when fighting heavier opponents.
Makes food last longer during extended travel or contests.
Two builds & detailed guides
Choose the role you want to play in this life. These are EFG tactical recommendations, not universal meta builds for every matchup.
Corpse king
Hold a resource for longer.
Keep the fight inside the carcass warning zone; abandon the resource if an apex can force you away from the body buff.
Choose in order from 01 → 04
Prioritize the first mutation in the list. If it is unavailable or slot-limited, use the next option and check again at the next milestone.
Slows food drain for longer survival routes.
Eating restores a small amount of health; limited to Slot 2.
SLOT LIMIT · Slot 2 onlySpeeds up health regeneration and reduces downtime.
Improves bleed resistance during trades or pack pressure.
TACTICAL GAMEPLAY LOOP
Find small carcasses or AI instead of hunting directly.
Stand beside the resource → invite the opponent to commit → use a charged bite → maintain short range → never chase too far.
Keep the fight inside the carcass warning zone; abandon the resource if an apex can force you away from the body buff.
CONDITIONS FOR THIS BUILD
↗Fighting beside a carcass favors you
↗Spoiled food is safer for you than for most species
+A large carcass provides the body buff and forces opponents close.
+Strong carcass control
−Not fast
−Easy to kite
NOTE: A build guides decisions; it does not replace reading hitboxes, stamina, team numbers and server-specific settings.
Brawler
Fight mid-tiers directly.
Use short bite trades to build bacteria; do not turn your durability advantage into a chase against a faster species.
Choose in order from 01 → 04
Prioritize the first mutation in the list. If it is unavailable or slot-limited, use the next option and check again at the next milestone.
Reduces damage taken when fighting a heavier species.
Eating restores a small amount of health; limited to Slot 2.
SLOT LIMIT · Slot 2 onlyImproves fracture resistance, especially in heavyweight matchups.
Speeds up health regeneration and reduces downtime.
TACTICAL GAMEPLAY LOOP
Gain enough mass before defending a carcass against mid-tiers.
Stand beside the resource → invite the opponent to commit → use a charged bite → maintain short range → never chase too far.
Use short bite trades to build bacteria; do not turn your durability advantage into a chase against a faster species.
CONDITIONS FOR THIS BUILD
↗Do not abandon a carcass to chase faster targets
↗Carcass scent attracts scavengers and can become bait
+The opponent must fight at close range and cannot force a long chase.
+Very durable in close combat
−Easy to kite
−Contesting apexes remains dangerous
NOTE: A build guides decisions; it does not replace reading hitboxes, stamina, team numbers and server-specific settings.
Mutation names, unlock conditions and effects may change with hotfixes. EFG prioritizes developer data; unclear items are treated as community recommendations and should be verified against the in-game description.
Growth time, mass and diet
Ceratosaurus from 0% to 100%
Before Adult: one nutrient gives 100% growth speed, two give 200%, and all three give 300%. Diet does not speed up Elder ageing at 75–100%. The table assumes a 1× server.
Carno, Deino, Omni, Diablo, Deer
Teno, Pachy, Cera
Dilo, Stego, Beipi, Goat
Maintain α, β and γ together for 300% Growth. Each bar only needs a remaining value; when one reaches zero, speed immediately drops to the corresponding tier.
AI spawns by region and player/server density; spawn descriptions refer to habitat types, not guaranteed coordinates.
Brown body, long legs and antlers; larger than a goat and often runs in long bursts.
Land AI favoring forest edges, grassland and active player corridors; it has no guaranteed fixed coordinate.Small, pale and compact with short horns; easy to mistake for a light object at range.
Open terrain, hillsides and grassland; its call is often easier to detect before the animal is visible.Prime stats for Ceratosaurus
ADULT · 75%1,450 kg
→PRIME PEAK · ≈87,5%1,950 kg
ADULT · 75%40.3 km/h
→PRIME PEAK · ≈87,5%39.7 km/h
ADULT · 75%150
→PRIME PEAK · ≈87,5%172,5
Peak is the comparison point above. Prime usually rises from 75%, peaks around 87.5%, then enters Elder decline. Mass, speed and Bite Force use the Prime Peak value at roughly 87.5%; hotfixes may change these stats.
From first spawn to Prime
Find small carcasses or AI instead of hunting directly.
Gain enough mass before defending a carcass against mid-tiers.
Pair with another Ceratosaurus to lock two angles.
Finish the Prime route before relying heavily on cannibalism.
Sanctuary juvenile
Perfect Diet
2 Migration
4 Patrol
Avoid negative mutations
Read the Prime guideCeratosaurus · Science & another perspective
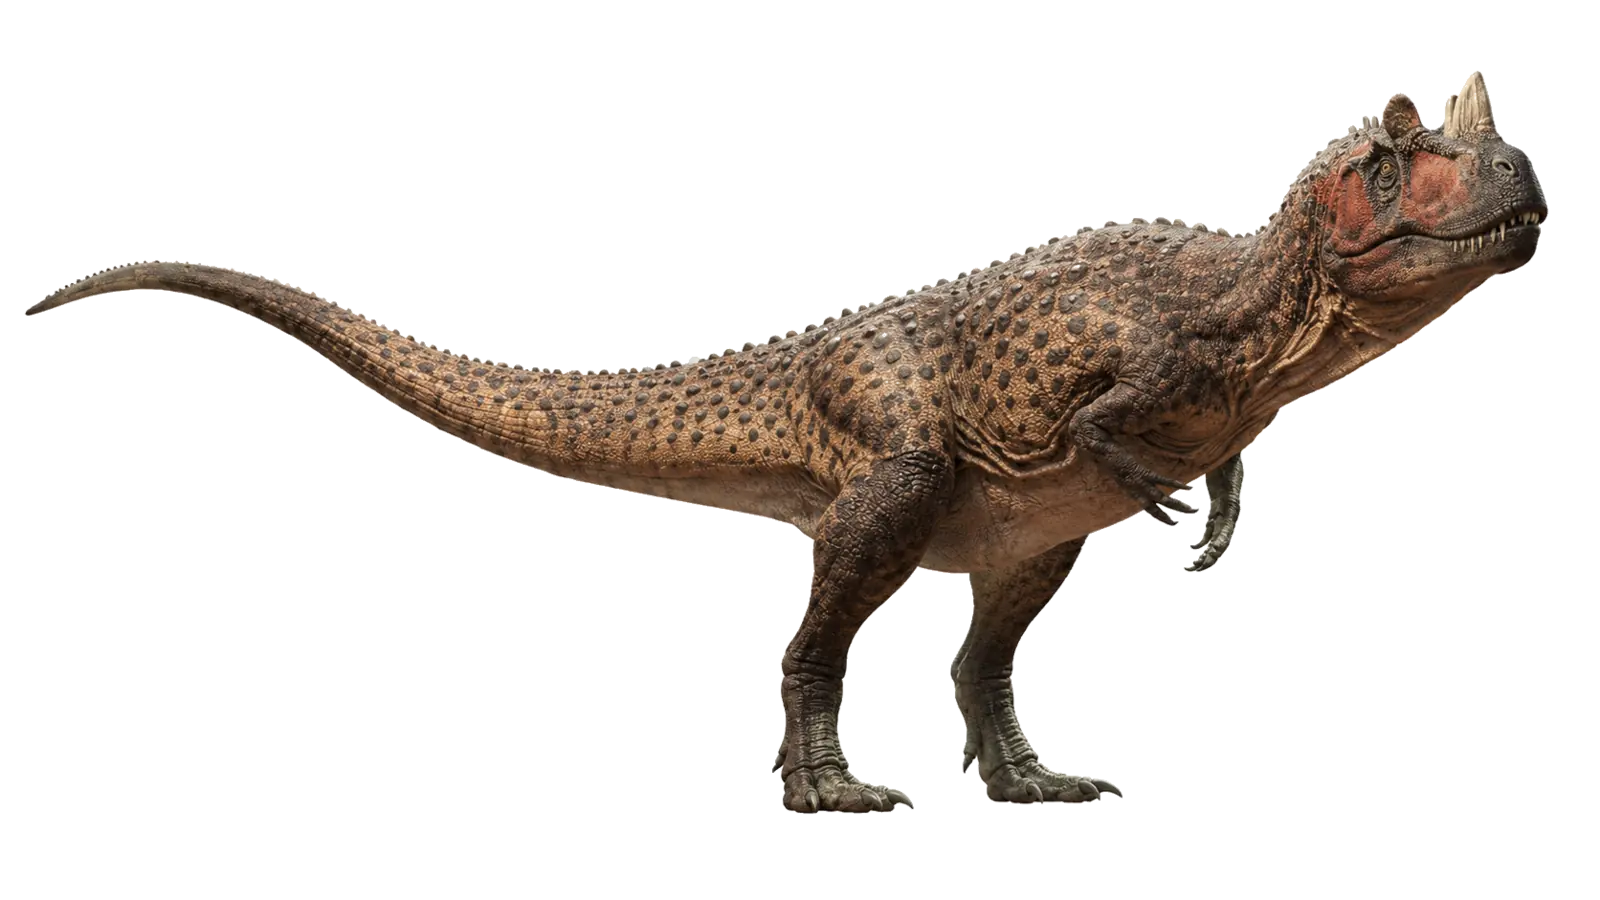
Ceratosaurus lived during the Late Jurassic and is recognized by its nasal horn and small bones along the back.
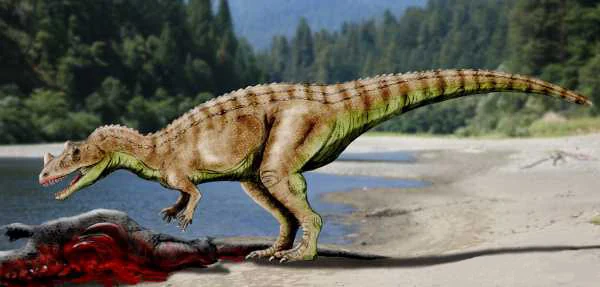
Reconstructing Ceratosaurus
A Ceratosaurus reconstruction by NobuTamura. The form reflects the artist’s interpretation of evidence; coloration and soft tissues should not be treated as a photograph of the living animal.
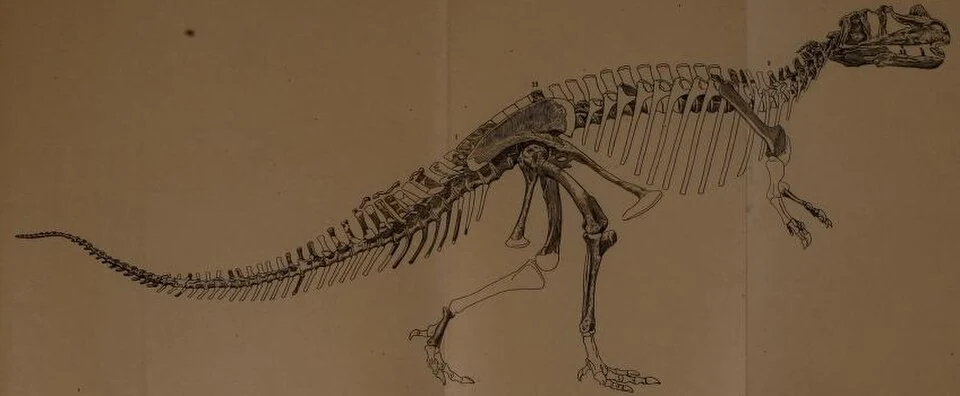
A skeleton in the monograph
Ceratosaurus skeleton illustrated in Charles W. Gilmore's 1920 monograph. This is a historical record; the mounted pose does not represent every modern interpretation.
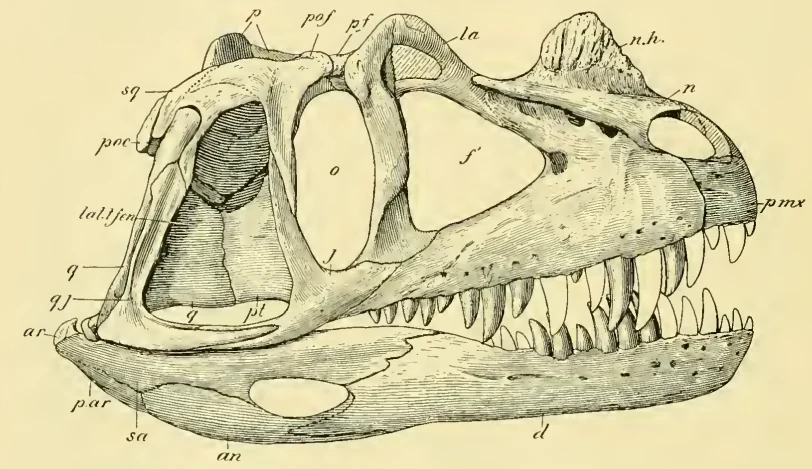
Reading the skull labels
An annotated skull drawing from the same Gilmore monograph. The nasal horn and skull openings are easier to examine here than in a full-body photograph.
Its fossils occur in ecosystems shared with Allosaurus, although the two may have used different prey and habitats.
Bacteria bites and carrion specialization are EVRIMA mechanics.